Thursday, October 26, 2017

Trick or Treat! - Lolly's Halloween Memory Dex Cards

Hello Crafty Friends!
Lolly has no excuse for forgetting Halloween this year. Not with these spooky fun Memory Dex cards to remind her!


I had made a Memory Dex card for the challenge in Crafty Vera and Friends (Facebook group).  I used Oxide inks for the background and a bat shaker file I had designed,


and then thought I should make more Dex cards with the kit for this month.  Here's my mini collection.  This little guy is one of my favs.  So easy to do.  I had this spider background paper, and I added the die cuts from the kit and a haunted fence from a digital design of mine.   A pinch of gathered orange glitter netting helped!


This one uses the kitty background paper from the kit and a pieces of other papers in the kit.  I had  a kitty flair pin that I found locally, so I removed the pin backing and glued it onto the card.  I thought the "Scaredy cats" phrase from the die cuts was perfect!


I used kit paper for the card, with more of the orange netting glued to the back of it.  The spider web is a sticker, and the spider shaker was from a local store.  That spider is toooo creepy, so the "creepy" word was a perfect match.


This one was fun to make.  There was a witch and a picture frame in the die cuts, so I poked her out through the frame, glued her in place, and then I used foam tape to turn her into a shaker.   Shake it, witches!


This is the last one I made.   I used a polka dot paper from the kit, glued a black netting ribbon over it, and sewed the "ghostly" banner letters across the top.  The pumpkin, ghost, and bat are also from the die cuts.  I then sprinkled some of the confetti I made (glitter glue over paper, then punched out holes from it).


Those die cuts were perfect Memory Dex card size and sooo fun (and sometimes creepy) to work with!

Hurry on over to see if you can "scare" up a kit HERE.

Thank you for creeping by to see what I have been up to!
~Lolly
http://www.LollyPalooza.net

Wednesday, October 25, 2017

Trick or Treat! - Suzanne's Halloween Mason Jar Candles

Hello Crafty Friends!
Are you looking for some fun decor ideas to spookify your home this Halloween?
Have a look at Suzanne's Mason Jar Candles. They are spookily brilliant!


This quick and easy project that I made from the October 'Trick or Treat' kit from Aunty Vera Scrap and Craft is one that only takes a few minutes but the end result looks really cool, especially when the lights have been turned out.

All you need is some orange tissue paper, the gorgeous Raven stamp from the October kit, a glass jar and some mod podge.

First, stamp your image onto the tissue paper using Ranger Archival ink.  I stamped the Raven three times onto the tissue paper.


I covered the glass jar with mod podge and placed the tissue paper very gently onto the jar.  I covered the bottom of the jar also.  Be very careful as the tissue paper rips easily. 

Tip the jar upside down and let it dry completely.

This is what it looks like with some battery operated tea light inside them


A close up image of one jar


Here are the jars in a darker space


Thanks for taking a look at this very quick project. 
xx Suzanne xx


Monday, October 23, 2017

Trick or Treat! - Lolly's Shaker Door Knocker

Hello Crafty Friends!
Lolly's Halloween project today will have you SHAKING! With crafty fun, not with fear :)


I adore shakers.  I love making them, looking at them, and playing with them.  Sooo, you guessed it!  It's SHAKER time!   I made shaker files to cut out with my Cameo.  Normally, there is a solid background to the shaker, and several "rings" that build up around the edges to hold the sequins in place.  Like this:


The solid piece is usually card stock, and the ring builds up the reservoir.  Then a solid shape of acetate is glued on that, and one more ring shape put on top as a decoration, and it ends up looking like this, but with sequins in it.   Well, I got to thinking that I wanted a transparent background instead of the card stock as my solid foundation.


So for each shaker, I cut two pieces of acetate:  one for the foundation layer and one for the top.   I also cut eight "rings" of card stock to build the reservoir, and one decorative card stock ring for the very top, using patterned papers from this month's kit for it.


I also knew that I wanted to use the die cuts from this kit, peeking through the acetate in each of the three shakers I was making.  I used a pumpkin die in the photo above, and the spider web in the photo below,


and for the last one, I used the scarecrow die to cut out a black silhouette for the shaker.


I built the shakers with a layer of acetate, one die character, then 8 rings, (then I added the sequins mix), a layer of acetate, and the final ring.  I used sequins from my stash, some mini ghost die cuts, and just to be a little crazy, I used a glittery glue on this paper scrap, fussy cut bats out and hand punched circles to add to the sequins mix.


Then I glued on embellishments from my stash and elements from the kit.


Then I strung them all on glittery orange ribbon.  I adore this project soooo much.  It makes my day!
My favorite part is that you can see through the shakers.  Hanging the shakers on a door has an entirely different effect than hanging on a wall!


I had to break the process video down into two segments. Part one is HERE
and part two is linked under that first video.

Aunty Vera did a super duper job gathering supplies to put this kit together.  Please check it out HERE


And have a tricky-treaty day!
Lolly

http://www.lollypalooza.net


Thursday, October 19, 2017

Trick or Treat! - Suzanne's 3 boxes, 3 bags, 3 cards and 3 tags

Hello Crafty Friends!
The spooky fun continues!
Today Suzanne is getting ready for me to knock on her door and say "Trick or Treat!"


The spooktacular October 'trick or treat' kit from Aunty Vera Scrap and Craft is so much fun to create with.  I've been having a HOOT of a time playing with the wonderful patterned papers and matching ephemera pack from My minds eye, the scarecrow die from Tim Holtz and the Raven Background stamp from Stampendous.

For this project I made 3 boxes, 3 bags, 3 cards and 3 tags

3 boxes 

The boxes have all been cut using a die from my stash and the beautiful 'trick or treat' patterned papers from My Minds Eye.


Fold all the crease lines and assemble the boxes

The three assembled boxes

There were three small tags in the ephemera pack so I used these to go with my boxes

They fit beautifully inside the box between the handles

I then added some stickers I had picked up at a de-stash to the front of each box.  They are the perfect size to add a few treats to.


3 Bags

 The three bags I made are just simple small white treat bags.  I used some orange tissue paper and the raven background stamp from Stampendous and a few of my own stamps to stamp on the paper and then mod podge this onto the white bags.  

The beautiful raven stamp and some orange tissue paper

I stamped a raven for the front of each bag and used my other stamps for the back
Below you can see the front and back panel of tissue paper for each bag


I used mod podge to adhere the tissue to the paper bag.  It is important to use the correct ink if you are going to use mod podge to adhere it to the bag.  I used Black Ranger Archival ink.


The tissue paper needs to be trimmed all around.  Be careful not to cut the bag.


The three bags from the front


 The bags from the back


3 Cards

 The three cards that I made were all fun to make.  The first card I made was a shaker card.  I used some black glitter paper for the frame of the shaker and purple glitter paper for the background of the shaker.


 I used some of the patterned papers for the background of the card


The ephemera pack from My Minds Eye included a witch that I used inside the shaker.


I die cut many spiders and covered them with kindy glitz to go inside the shaker


Number 1 card finished.


The second card features the scarecrow die from the October kit


I die cut the grass out of green and placed it on top of the other die cut


I cut out a small circle and placed it on the top of the card and inked all around it with dusty concord distress ink to form the moon


 I placed a die cut of a graveyard from my stash onto the bottom of the card


I cut another hill for the front to give some dimension


I added a tree behind the gravestones and then used foam tape on the scarecrow to give him some dimension


I also added a ghost, a jack-o-lantern and the birds


 I placed this on a piece of the patterned paper and then a black card base.


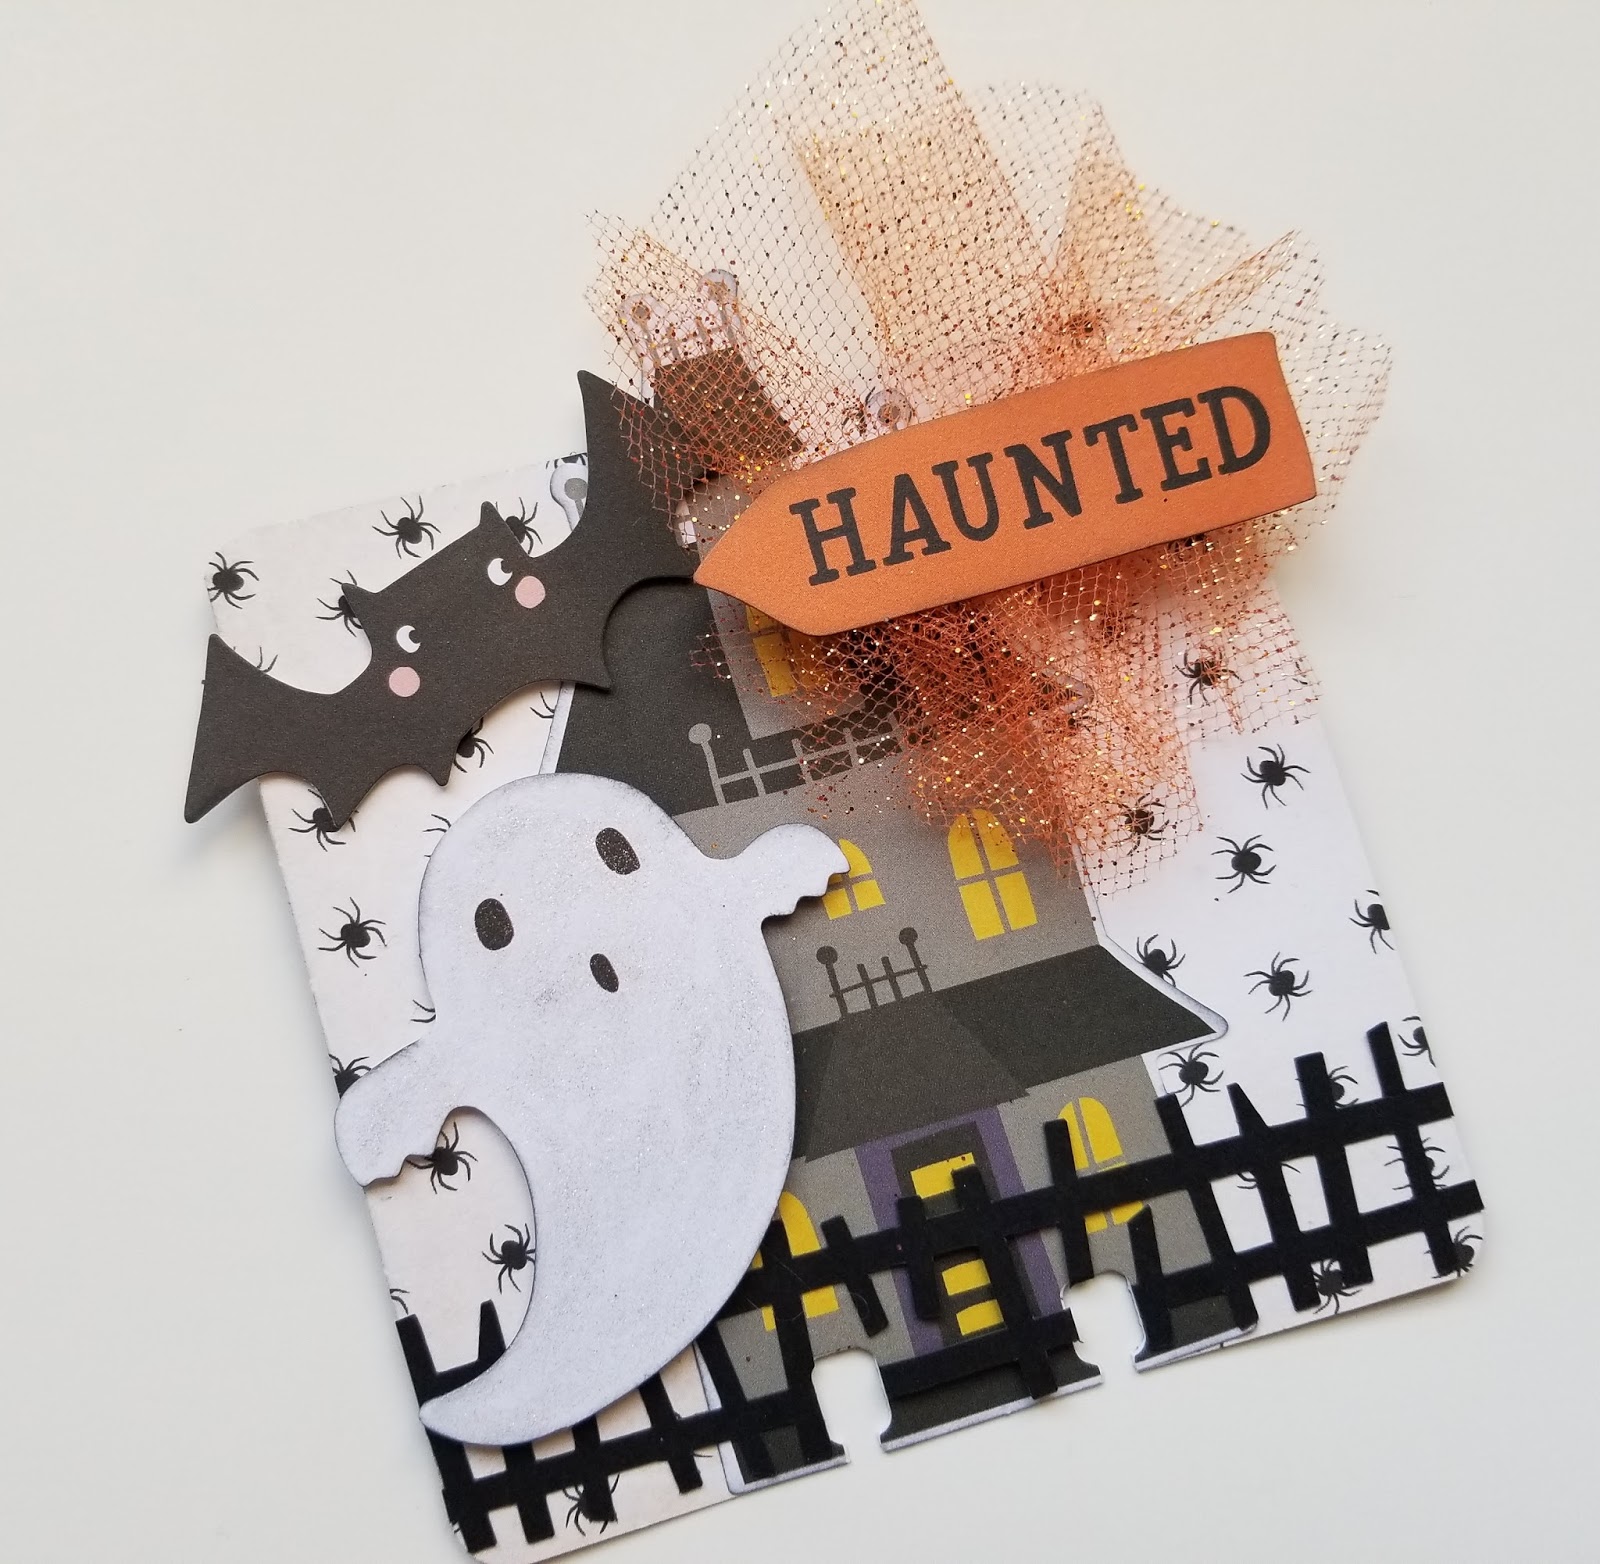
 I used distress ink for the front of the third card


 I cut the white border off of the haunted house from the ephemera pack 


I die cut the graveyard, tree and bat to add to the card 


I added all of these pieces to the card front and a sentiment from the ephemera pack.  I placed the card front onto a piece of patterned paper and then a purple card base 


Here are the three finished cards


3 tags

The first tag is a large one so that I could use the scarecrow die on the front. I used a black tag background and some of the patterned paper on the front 


I die cut the scarecrow and used my crazy bird stamps and dies to add two birds and a jack-o-lantern to the tag.  The sentiment is from the ephemera pack in the October kit


I also cut the graveyard to add to the tag


and used the trimmings from the October kit to finish it off. 


 Tag number two is a small tag and features a jack-o-lantern that I had in my stash that I have added a witches hat to and placed it on one of the patterned papers.


 Tag number 3 features one of the witches from one of the patterned papers and I cut the words 'trick or treat' from the ephemera pack to use as the sentiment.


On all three tags I have used the trimming from Tim Holtz


This tag above also has some of the black bird washi from the October kit on the bottom


 I hope you enjoyed having a look at my Halloween projects.  Here are some photos of them all together

3 boxes

3 bags

 3 Cards
 3 tags

You can watch a short video walk through of these halloween projects HERE.

You can get the October kit HERE.

xx Suzanne xx


Related Posts Plugin for WordPress, Blogger...